
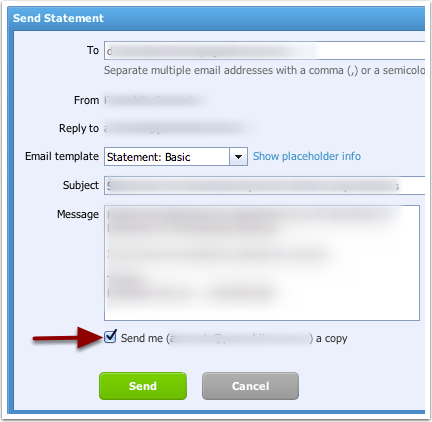
Xero allows sending of emails (statements, invoices etc.) to customers and it has a feature to allow the user to copy themselves on the email.
By default, Office 365 will reject these incoming emails.
The solution is to add a Xero connector.
Open the Office 365 Exchange admin center
Navigate to mail flow > connectors and add an inbound connector
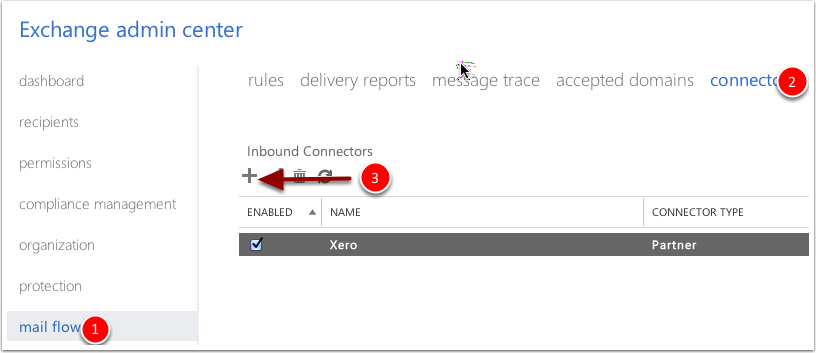 1. mail flow 2. connectors 3. Click + to add an inbound connector
 1. general tab 2. Enter connector name 3. Enable inbound connector 4. Toggle Connector Type as Partner
  1. scope tab 2. Click + to add sender domain 3. Sender domain: mail2.go.xero.com 4. Click + to add Sender IP address 5. Sender IP address: 198.61.155.105 Click Save